

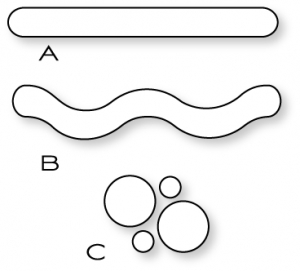
What I used: crop a dile corner chomper (optional - I just like the rounded corners and this was the best tool for this and works on shrink plastic too), two pennies, 3d foam dots and a Paper Trey Ink die which cost $6 for a set of two a squiggle and a straight one, they measure 4.5" by 0.5"
Note: If you don't have a die cutting machine - no worries! You can use a metal ruler, cutting mat and an exacto knife to cut a path, just make sure that it is slightly wider than the 3D foam dot but narrower then the penny.

Print your image twice and cut the second copy slightly smaller but make sure that your path (your spinner track) is all there, I do this because when the spinner moves I want people to continue to see the background and not a black hole! After I cut the path with my grand calibur, I align them both to make sure the overlap works.
.JPG "Spinner card tutorial")

Add the foam dots all around, be careful not to add the foam dots too close to the spinner track or the pennies will get stuck! Put quite a bit of them around to make a sturdy card. I cut a strip of 1/8" black cardstock and glued it to the sides like you see below, you don't have to do this, I just like to hide what is inside!

.JPG "Spinner card tutorial")
There you have it! A very cool spinner card!

No comments:
Post a Comment